If you're looking to wreak havoc on the high seas, few ships can match the sheer destructive potential of the Barge, especially when outfitted as a DPS-focused sail-tearing machine. Designed to specialize in damage over time and devastating status effects, this small ship may seem unassuming at first glance, but with the right loadout, it rivals medium-class ships in firepower and versatility. In this guide, we'll break down everything you need to know to turn your barge into a sailing nightmare for enemy fleets.
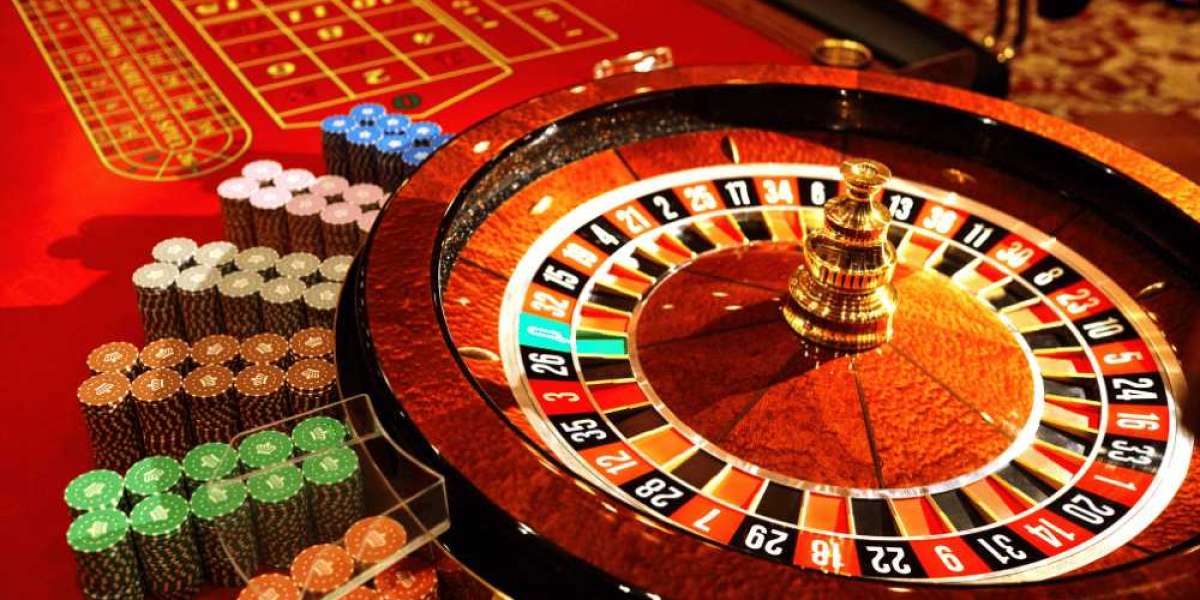
Why the Barge Stands Out Skull and Bones Items
The Barge's core strength lies in its ability to apply multiple effects simultaneously while maintaining impressive offensive capabilities. Two abilities in particular define its destructive profile:
Wildfire: Setting targets ablaze has far-reaching consequences. Not only does it inflict burning damage over time, but it also spreads to all nearby enemies within a 125-meter radius, amplifying your team's DPS output by 35%. On top of that, burning damage significantly accelerates the charge speed of your blaze effects by 175%, allowing you to chain devastating attacks with little downtime.
Devouring: This ability synergizes beautifully with blaze. Each successful hit builds torn sails on the enemy vessel, weakening their mobility and making them more susceptible to follow-up attacks. Essentially, it punishes enemies who fail to stay agile and leaves them vulnerable to your full arsenal.
Despite being classified as a small ship, the Barge boasts bow and auxiliary weapon slots, allowing players to outfit it with devastating weapons usually reserved for larger ships. This flexibility turns it into a miniature powerhouse capable of wreaking havoc in any engagement.
The Weapon Loadout: Maximizing Sail Damage
The core of this build revolves around tearing enemy sails apart while piling on status effects. Here's a detailed breakdown of the recommended weapons:
Thunder Dragon Cannons (Port and Starboard)
Damage Output: 2,753 per shot (port), 3,602 per shot (starboard)
Effects: Incendiary, tearing, and amplified electric damage
Special Traits: Skyend triggers a lightning strike with a 15% chance per volley, scaling up to 45% and hitting for 5,000 electric damage, which doubles to 10,000 if the target has torn sails.
These cannons excel at disabling enemy sails and adding electric shocks that can cripple even the toughest vessels. With a combination of incendiary, tearing, and amplified effects, they ensure consistent DPS against both hull and sail targets.
Sherlock Long 9ines (Stern Cannon)
Damage Output: 4,401 per shot
Effects: Mass breaker, piercing three, tearing two
Special Traits: Deals 7,000 damage after applying torn sails, specifically designed to cripple enemy ships by dismantling their structure.
The Sherlock Long 9ines complement the Thunder Dragon Cannons by providing long-range precision fire, ensuring your ship can impact the battle from a distance while your allies move in for close combat.
Auxiliary Weapon: Crouching Tiger
Damage Output: 23,761 per hit
Effects: Firepower, severity, blast range, and taunting
Special Traits: Infused with incense to taunt enemies, forcing them to target your ship while simultaneously reducing their combat efficiency.
Taunting is an invaluable mechanic for this build. By drawing attention to yourself and away from allies, you can control the battlefield, allowing teammates to safely target weak points or deliver torpedo strikes.
Armor and Ship Enhancements
While weapons provide raw damage, surviving the chaos of naval combat requires careful armor and furniture selection. For the Barge, a balance of brace strength, health recovery, and fortitude is essential.
Armor
Noctturn Heart: Offers stout maintenance, boosting repair efficiency to keep your ship combat-ready.
Tandra Draw: Killing an enemy restores brace strength and hull health, ensuring that aggressive play is rewarded. It also provides 2700 additional brace strength and 175 health per second restoration, which is invaluable for prolonged engagements.
Furniture
Optimizing ship furniture enhances weapon effectiveness and battle control:
Gimbal Ring Stores: Boosts damage of demi-cannon weapons by 17% at long range, increases projectile speed by 14%, and extends maximum range by 12%.
Lead and Bault Array: Reduces reload time of electric weapons by 6% and increases damage against enemies with the storm-struck effect by 8%.
Lrange Barrels: Increases torn sails charge rate and extends the duration of the effect by 8%, allowing for quicker disruption of enemy mobility.
Demic Cannon Works One: Boosts secondary damage of demi-cannons by 19%, complementing your main battery.
Chains Locker One: Further extends the torn sails effect by 20%, maximizing sail destruction over time. Gunpowder Bench: Amplifies damage against ablaze targets by 10%, synergizing perfectly with your wildfire attacks.
This combination ensures your ship is both offensively dominant and sustainably tough, capable of staying in the fight while keeping pressure on the enemy.
Tactics: How to Dominate Naval Combat
The Barge excels when used strategically in tandem with allies. Here's how to make the most of its capabilities:
1.Sail Targeting: Your primary goal is to destroy enemy sails quickly, which immobilizes opponents and opens them up for your allies' attacks. With your Thunder Dragon Cannons, four precise hits can disable most ships' sails entirely.
2.Area Control: Wildfire spreads damage in a 125-meter radius. Position yourself among clustered enemies to maximize the ablaze effect and boost your allies' DPS output.
3.Taunting and Aggro Management: Use the Crouching Tiger auxiliary weapon to taunt enemies early in the fight. This ensures that their attention remains on you, giving your allies freedom to exploit weak points or launch torpedoes without fear of retaliation.
4.Synergy with Teammates: Coordinating with other players, like Cotton and Huey, allows you to focus on sail destruction while your teammates unleash torpedo strikes, maximizing overall damage. This combination creates a burning flood of chaos, leaving little room for enemies to recover.
5.Handling High-Speed Targets: The Barge's top speed is 11 knots, which may be limiting against fast enemies. However, by disabling sails first, you effectively neutralize their mobility, bringing them into range for your high-damage cannons.
Highlighted Engagements
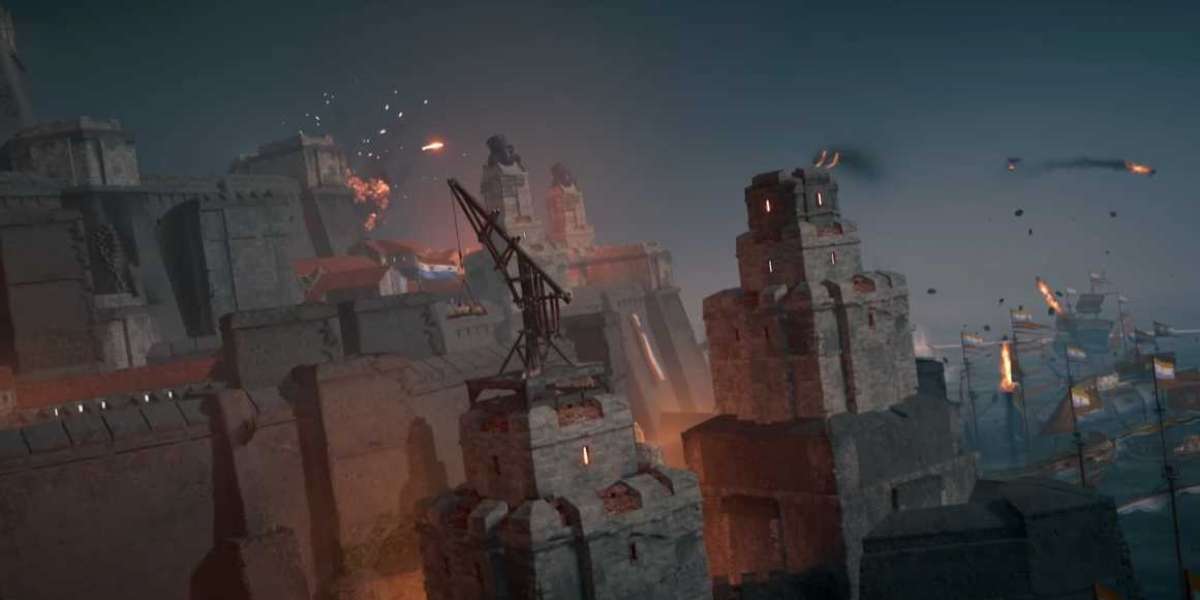
The Barge's effectiveness shines in large-scale fights, especially during events like the Moonshiner Event or encounters with the Hubac Twins.
Moonshiner Event: With enemies clustered together, your ablaze effects spread rapidly, and your team can launch torpedoes for maximum destruction. The combination of high DPS and crowd control makes short work of even coordinated fleets.
Hubac Twins Fight: This is where the Barge truly excels. By tearing down enemy sails quickly, you prevent high-mobility ships from escaping or harassing allies. Even fast-moving targets become sitting ducks once their sails are compromised, allowing your cannons and torpedoes to dominate the battlefield.
In these scenarios, timing and positioning are everything. Proper use of wildfire, torn sails, and taunting ensures that the enemy fleet remains under constant pressure, unable to retaliate effectively.
Strengths and Weaknesses
Strengths
Exceptional sail control with Torn Sails synergy
High burst and sustained damage via Thunder Dragon Cannons and Sherlock Long 9ines
Taunt mechanics allow for battlefield control
Synergizes well with allied ships for maximum destruction
Weaknesses
Limited top speed (11 knots) makes chasing fast ships challenging
Requires careful resource management for sustained engagement
Vulnerable if caught alone without allies to distract or weaken enemy fire
By understanding these strengths and weaknesses, you can use the Barge to dictate the pace of battle, controlling the battlefield and overwhelming opponents before they have a chance to react.
Why Every Pirate Needs a Sail-Tearing Ship
If you're serious about naval combat in Skull and Bones, having a dedicated sail-tearing ship like the Barge is non-negotiable. While it may not match the mobility of larger vessels, its ability to disrupt enemy movement and amplify team damage makes it an invaluable asset in any fleet.
The combination of high-damage cannons, effective auxiliary weapons, and status-effect synergy ensures that enemies are constantly on the back foot. By prioritizing sail destruction and ablaze effects, the Barge transforms even routine encounters into strategic masterclasses in naval warfare.
Conclusion: Setting Sail for Dominance
The Barge DPS build is a testament to Skull and Bones' depth and flexibility. With the right weaponry, armor, and furniture, even a small ship can dominate engagements, controlling enemy fleets and delivering devastating damage.
Key takeaways for aspiring Barge captains:
Prioritize sail destruction: Use Thunder Dragon Cannons and Sherlock Long 9ines to cripple enemy mobility.
Maximize status effects: Wildfire and torn sails amplify your damage output and synergize with team attacks Skull and Bones Items for sale.
Leverage auxiliary weapons: Crouching Tiger taunts enemies and keeps them focused on you.
Coordinate with allies: A synchronized team can turn any engagement into a complete victory.
Manage weaknesses: Be mindful of the Barge's limited speed and ensure you have support to cover retreats or isolated fights.