Projection mapping has revolutionized the way we experience visual displays, transforming ordinary surfaces into dynamic, immersive environments. From large-scale architectural projections to interactive stage shows, the success of any projection mapping project depends heavily on accurate calculations, including the distance between the projector and the surface. Calculating this distance correctly ensures the image fits perfectly, maintains clarity, and delivers the intended visual impact. In this blog, we will explain how to calculate distance for projection mapping, the key factors to consider, and how tools like XTEN-AV simplify the process for AV professionals.
Understanding Projection Mapping
Projection mapping, also known as spatial augmented reality, involves projecting images or video onto irregular surfaces such as buildings, sculptures, or stages. Unlike traditional flat screen projection, these surfaces require precise alignment and scaling so that the projected content conforms to the surface geometry. Even minor errors in projector placement or distance can cause distortion, misalignment, or poor image quality.
The Role of Throw Distance in Projection Mapping
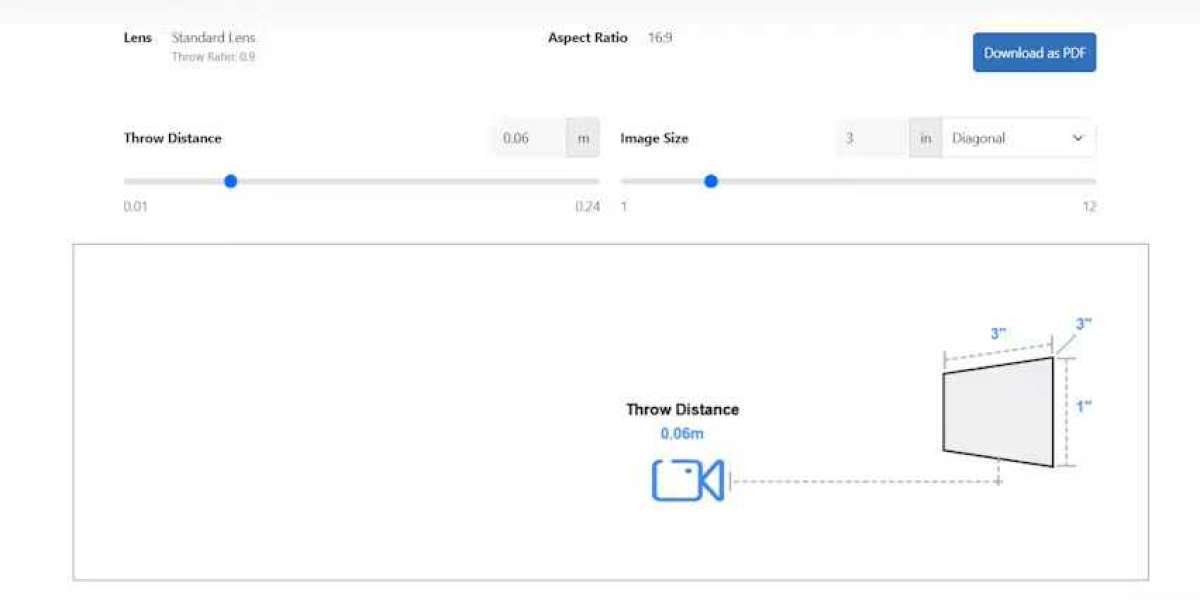
Throw distance, the distance between the projector lens and the target surface, is critical in projection mapping. It determines the size of the projected image, its sharpness, and the angle of projection. Throw distance is closely tied to the projector’s throw ratio, which is the ratio of the distance from the lens to the screen width.
The basic formula is:
Throw Distance = Throw Ratio × Image Width
For example, if a projector has a throw ratio of 1.2:1 and you want an image width of 10 feet, the throw distance should be:
Throw Distance = 1.2 × 10 = 12 feet
While this formula works for simple rectangular surfaces, projection mapping often involves irregular surfaces, multiple projectors, and blended edges, which require more advanced calculations.
Factors to Consider for Projection Mapping Distance
Several key factors influence the ideal distance for projection mapping:
1. Surface Geometry
Unlike flat screens, the surfaces used in projection mapping can have curves, angles, or irregular shapes. Understanding the geometry of the surface is critical for calculating accurate throw distances. Projectors must be positioned to cover the entire surface without distortion.
2. Image Size and Resolution
The desired image size affects the required distance. Larger projections require either more powerful projectors or increased throw distance. Additionally, resolution matters because increasing distance without adjusting projector settings can reduce image sharpness.
3. Projector Type and Throw Ratio
Short throw projectors can project large images from close distances, while standard throw projectors require more space. Ultra short throw projectors may be useful for tight spaces or indoor projections, but their limited distance may not suit large-scale mapping projects. Knowing the projector’s throw ratio allows you to calculate the optimal distance for the required image size.
4. Ambient Light Conditions
Outdoor projections or spaces with high ambient light require brighter projectors and careful distance calculation to maintain image visibility. Increasing throw distance can affect brightness, so the projector’s lumen rating must be factored into planning.
5. Multiple Projectors and Edge Blending
Large-scale projection mapping often requires multiple projectors to cover expansive surfaces. Throw distance calculations must account for overlap areas to achieve seamless edge blending without visible lines or brightness inconsistencies.
6. Viewing Angle
The placement of the projector relative to the surface affects viewing angles. Ensure that the throw distance and angle provide a comfortable viewing experience without distortion or keystone issues.
Step-by-Step Guide to Calculating Distance
Measure the Target Surface: Record the width, height, and any irregular features of the surface to be projected.
Determine Desired Image Coverage: Decide how much of the surface should be covered by the projection.
Check Projector Specifications: Obtain the projector’s throw ratio, lens shift capabilities, and zoom range.
Calculate Throw Distance: Multiply the desired image width by the throw ratio to determine the distance from the projector to the surface.
Adjust for Geometry: If the surface is irregular, adjust the distance to ensure full coverage and proper scaling.
Account for Multiple Projectors: Plan for overlaps in blended areas and calculate distances for each projector individually.
Test and Fine-Tune: Use temporary projections to check alignment, scaling, and image clarity before final installation.
Using Tools for Accurate Projection Mapping
Professional AV tools like XTEN-AV simplify projection mapping calculations. By inputting projector specifications, surface dimensions, and placement constraints, XTEN-AV can provide:
Recommended throw distance for each projector
Visual layouts for complex surfaces
Adjustment recommendations for lens shift, zoom, and blending
Simulation of projected image on irregular surfaces
These features save time, reduce errors, and ensure that the final projection meets design expectations.
Practical Tips for Projection Mapping Distance
Prioritize High-Resolution Projectors: Larger throw distances require projectors with high native resolution to maintain image clarity.
Consider Portable Mounting Solutions: Temporary events may benefit from adjustable tripods or scaffolding to fine-tune throw distance.
Use Simulation Tools: Tools like XTEN-AV allow you to simulate projector placement and surface coverage before physical setup.
Adjust for Outdoor Conditions: Weather and ambient light may require increasing projector brightness or changing throw distance.
Plan for Maintenance: Ensure projectors are accessible for adjustments, cleaning, or bulb replacement during extended events.
Conclusion
Calculating distance for projection mapping is a critical step in ensuring successful visual installations. The right throw distance guarantees proper image size, sharpness, and alignment, while minimizing distortion and visual errors. Factors such as surface geometry, projector throw ratio, ambient light, and multiple projector setups must all be considered for accurate calculations.
Using professional tools like XTEN-AV simplifies the process, providing precise throw distance calculations, visual layouts, and adjustment recommendations. Whether for architectural mapping, stage shows, or interactive displays, careful planning and accurate distance calculation are essential for achieving immersive and impactful projection mapping experiences.
Read more: https://ivebo.co.uk/read-blog/179473


